Build better. Earn faster. With modern tech– AI, code/no-code & beyond.
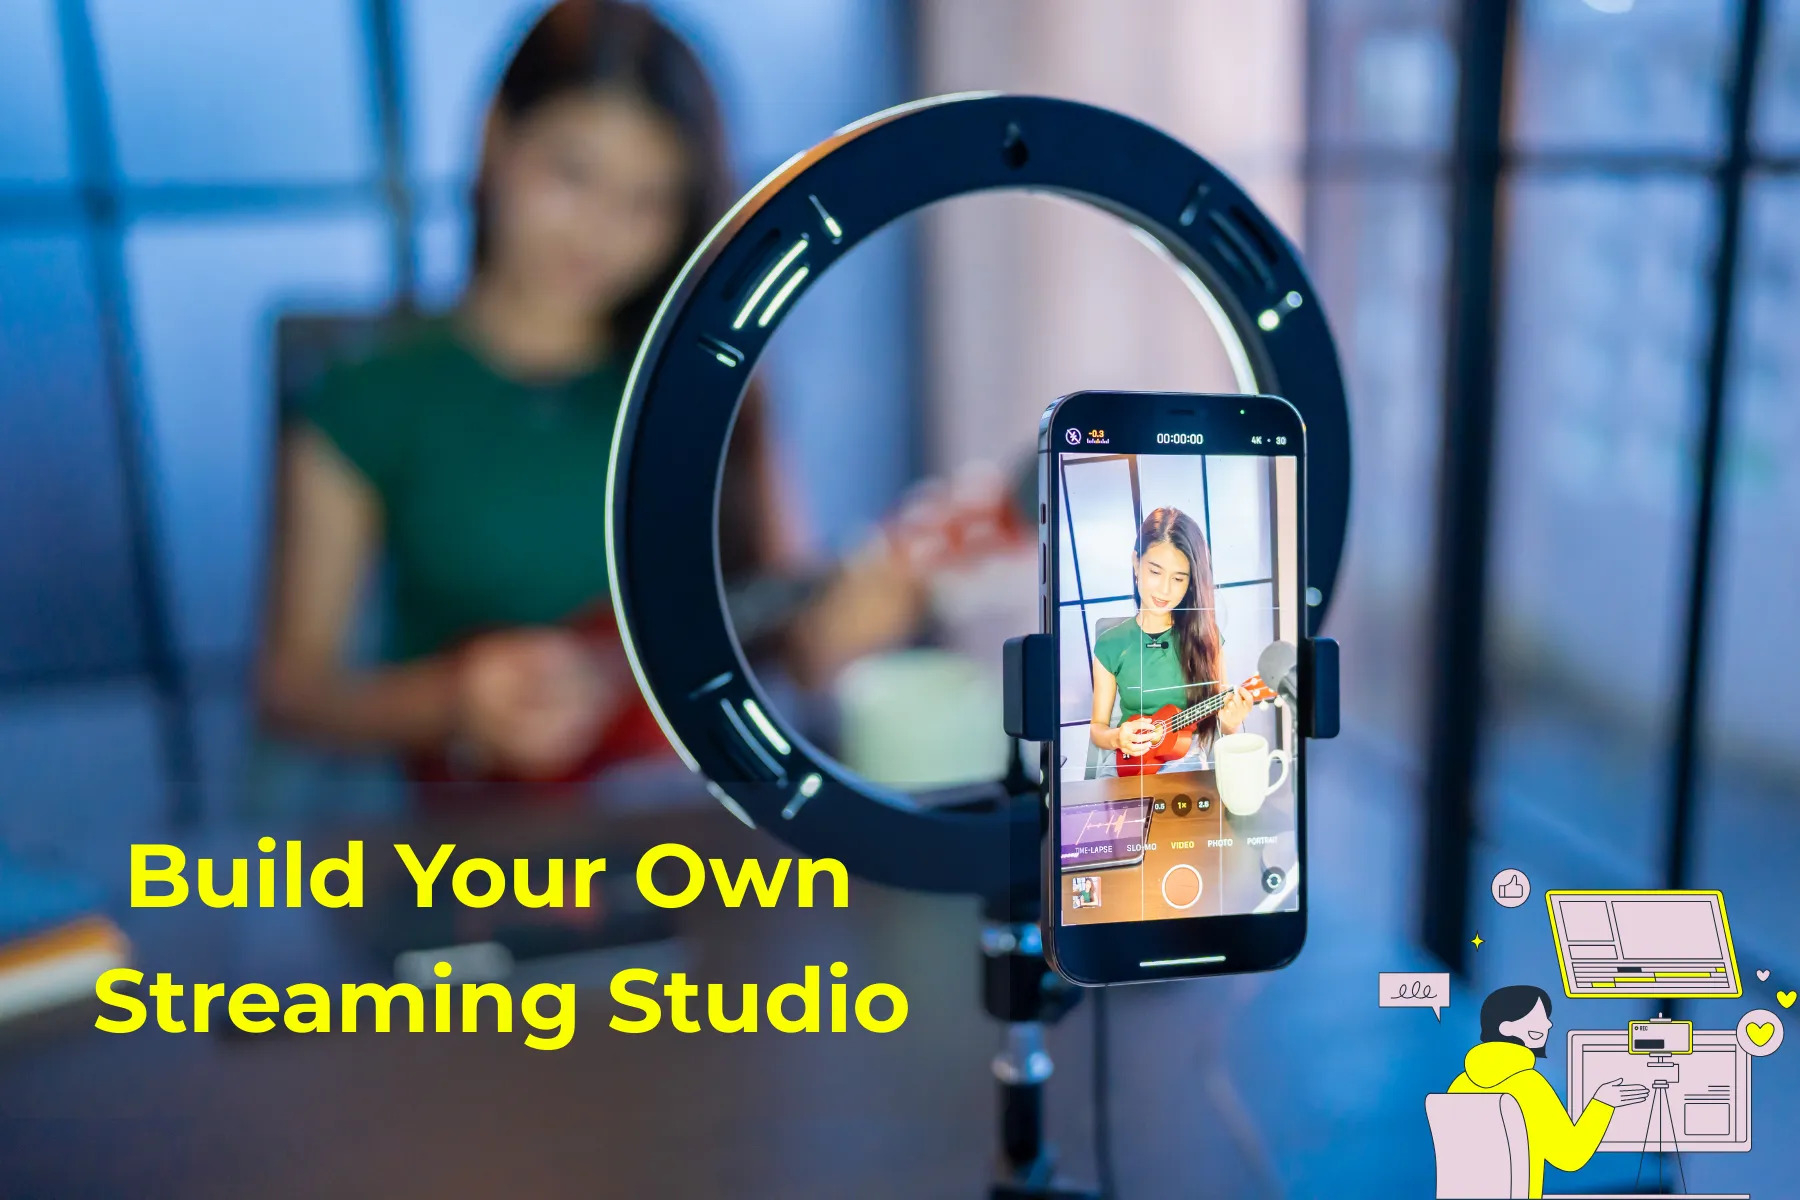
A Complete Beginner's Guide to Setting up a Modern Streaming Studio in 2025
Last Updated:2025-12-05
Category:Content Creation
Reading Time:15-20
Article-type:Comprehensive
Introduction to Video Streaming
Today, video has become the largest form of online content consumption. If you're a content creator—be it an educator, marketer, or entertainer—and not streaming in 2025, you're missing out on the primary way people consume content.
The challenge for most aspiring streamers stems from the overwhelming complexity of getting started.
Between choosing cameras, audio, software and lighting to look professional, many talented people never make it past the planning stage, even if they’ve great, unique ideas.
The good thing is, in 2025, video content creation or even live-streaming is much more accessible and affordable than what may seem at first glance.
With advancements in software and especially AI-powered tools, you can create top-notch professional quality videos, reels, product demos and live-streams, even if you do not have an expensive camera or audio equipment.
What is important is understanding the streaming ecosystem—a solo educator streaming live coding sessions has very different needs than a gamer streaming 3D gameplay or a TikToker creating short clips.
You don't need to spend thousands of dollars to create your setup. Let me tell you, at least when it comes to the hardware, it is likely that you already have most of the things at your disposal to get started.
This guide will give you an overview of lots of tools so that you can pick and build your own Modern Streamer's Studio. And as we'll see, a lot of tools, used by even production studios, are completely free!
Important Components of any Streaming Setup
Here are the main essential components you'll need for a successful streaming setup:
Camera: While high-end cameras are great, you can start with your smartphone or laptop's webcam. The key is good lighting and framing.
Audio: More than video, people leave immediately if the audio is poor. Many streamers realise this too late. Bad audio screams amateur louder than any visual element.
Lighting: The visual quality not only depends on the camera. Proper lighting can significantly enhance the overall look of your stream.
Processing Power: Depending upon your use-case, you may need a powerful device that can run live-streaming, demanding software and handle post-production tasks. For instance, a gamer whose intent is to stream Fortnite live on twitch, a gaming PC with a high-end GPU is essential not just for running the game but also to ensure smooth streaming and recording.
In the following sections, we'll explore both hardware and software solutions to address each of these components in detail.
Hardware: Your Physical Setup
Audio Equipment
For podcasters, singers and online educators, a good and clear audio quality is non-negotiable. As such, your recording environment plays a massive role in your final audio quality. For equipment, here are some good options:
USB Microphones: The Blue Yeti has been the go-to starter mic for years. You can also explore newer options like the Razer Seiren Mini ($50), delivers surprisingly clear audio in a compact form factor.
XLR Microphones: These devices offer superior clarity and control. But you'll also need a mixer or audio interface to use them. The Shure SM58 ($99) with a Behringer U-Phoria UM2 interface ($50) creates a professional audio setup for under $150.
Personal recommendation - For the best bang for your buck, the Audio-Technica ATR2100X-USB ($79) can be a good scalable option as it offers multiple connectivity options, including both USB and XLR outputs.
While XLR microphones do filter out noises better, even the most expensive mic will pick up distracting echoes from bare walls or the cacophony from nearby construction.
In such cases, try some simple DIY tricks and check if your existing microphone improves sound clarity before you upgrade — hang blankets, add a rug, or if the noise is extreme, then install acoustic foam panels ($30-50) at strategic places in your room.
A decent microphone in a well-treated acoustic space will produce a better audio quality than a high-end one in a poor space.
If budget is a concern, then see if the AI tools like Descript or Adobe Podcast can help enhance audio quality in post-production. We'll cover these in the later AI tools section.
Camera Recommendations
Your Smartphone: If you have a recent mid-range smartphone or a flagship model from a couple of years ago, your phone likely already has a camera that is better than many webcams. Most modern smartphone cameras can shoot in 1080p or even in 4K with various filters. Use a tripod and good lighting to maximize quality. You can connect it to your computer with apps like DroidCam (Android) or Continuity Camera (iPhone).
Webcams: If you still want to go for webcams, then the Logitech C920 remains the streaming standard for good reasons. At around $80, it delivers reliable 1080p recording with decent low-light performance. The newer Logitech Brio offers 4K resolution, but most streaming platforms compress video anyway, making 1080p more than sufficient. Another good option is the Razer Kiyo ($100), which also includes a built-in ring light for improved lighting in darker environments.
DSLRs and Mirrorless Cameras: If you're ready to level up, then mirrorless DSLR cameras like the Sony's alpha series (A6400 or A7), Sony's ZV-E10 ($700) or Canon EOS M50 Mark II ($600), offer professional grade image quality, with features designed specifically for content creators.
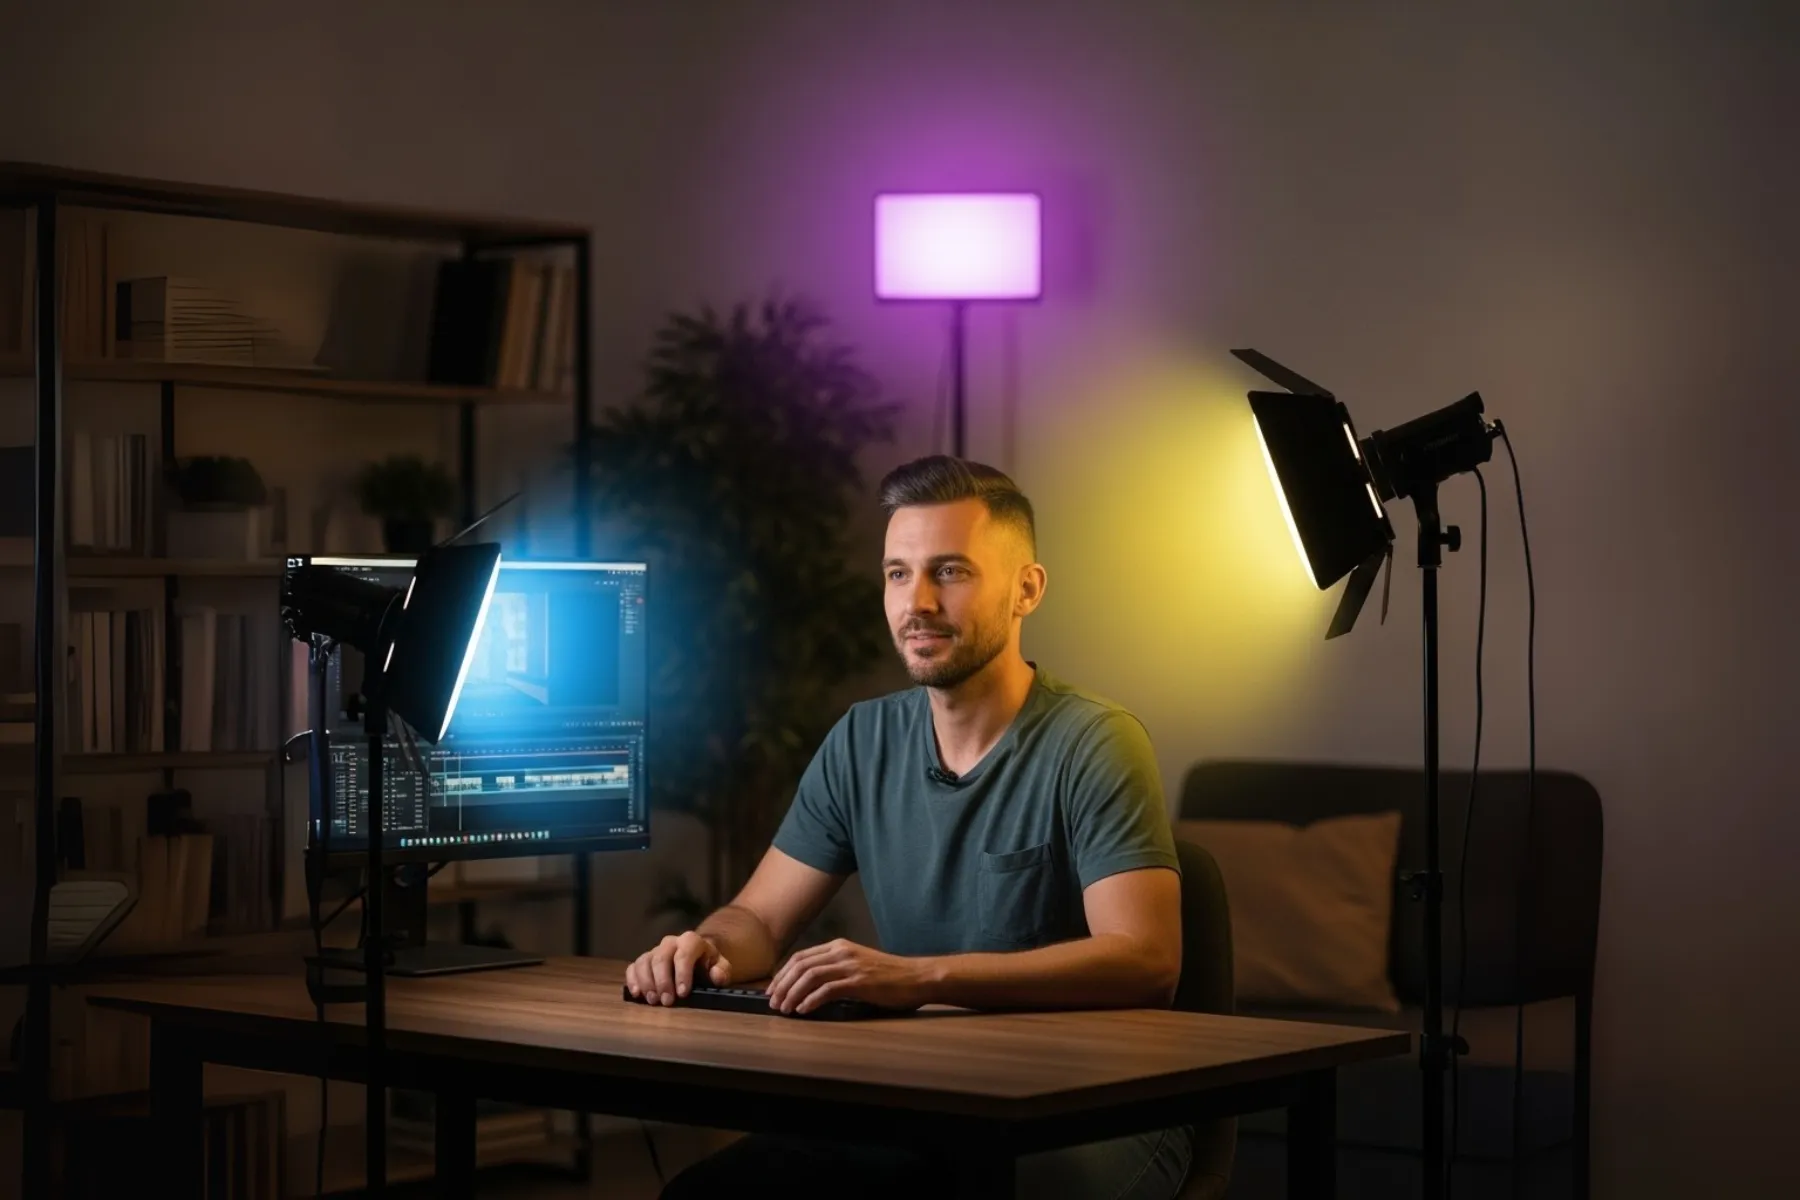
Lighting Equipment
A lot of content creators overspend on cameras. Unless you're recording a cinematic content, then beyond a decent camera, it is the lighting that ultimately makes the difference.
One neat trick that I learned — during the pandemic, when I had to regularly record online classes — is to use the natural window light by covering it with a white towel or sheer curtains. The covering diffuses the sunlight and creates a natural flattering light on your face. Even a desk lamp in front, with the same white sheet cover to diffuse the harsh light, works well.
If you want more control for advanced needs however, here are some good options-
Ring Lights: These work well for beauty shots or close-ups but can create unflattering shadows for full-body shots or other general use.
Softbox Lights: They create even lighting and removes hard shadows. The MountDog Softbox Lighting Kit ($70) is a good affordable option.
LED Panels: If you want the professional 3 point lighting setup mentioned above with full control, then consider these adjustable LED panels. The Elgato Key Light setup is a popular choice, you can control the brightness and even color temperature for different panels through an app. Neewer's LED panels ($40-60) is more economical and provide similar quality.
Sample image of a 3-point lighting setup in a home studio.
Don't invest too much before you start. See how far you can go with what you already have. Some hardware limitations can be addressed with smart techniques or enhanced in post-production using software and AI tools. We'll discuss these tools next.
Software: Your Digital Command Center
Software transforms your hardware into a streaming powerhouse. The right combination can make a modest setup look professional, while poor software choices can cripple even high-end equipment.
OBS Studio: The Professional Standard
OBS Studio is the industry standard for live streaming and recording. From individuals to even TV studios, all rely on OBS for its flexibility and reliability. It is completely free, open-source, and highly customizable. This makes it a favorite among professionals and beginners alike.
During live streaming, OBS can handle multiple camera angles, custom graphics, scene transitions, and real-time effects while streaming to any platform simultaneously. For recording, it captures footage directly to your computer and provides a wealth of options for you to use in your post-production.
Since its open-source, the software has an extensive plugin ecosystem that further extends its capabilities. Like tools for creating special effects, multi-computer setups, and specialized streaming features.
Because OBS can do so many things, the learning curve is unfortunately equally steep. Opening a software with so many settings and control panels is naturally overwhelming.
Still, I'd highly recommend this. It's free and the only investment you need to make is time. Spend 2-3 days initially to learn the interface, there are hundreds of tutorials out there. This will pay dividends across all your video content creation.
Streamlabs Desktop
Streamlabs is built on top of OBS but offers a more user-friendly interface and additional features tailored for streamers. It easily integrates with platforms like Twitch, YouTube, and Facebook, providing built-in tools for alerts, donations, and chat management.
While the free version itself is comprehensive, the Prime subscription ($19/month) adds cloud storage, premium overlays, and multistreaming capabilities.
Ecamm Live
For Mac users, Ecamm Live ($20/month) offers a native macOS experience with intuitive controls and excellent integration with Mac hardware. Its interview mode makes it perfect for podcast-style streams.
Video Editing Solutions
While the above mentioned softwares can also handle video editing but if your only concern is post production on pre-recorded content and not live streaming, then here are some more simple alternatives:
Microsoft Clipchamp: One of the simplest yet powerful video editing tool, which you can run even in your browser. You just place your assets on the timeline — your recorded video, audio, and images — and then edit them with a range of tools. Comes with lots of filters, transitions, music and other stock assets. The free version is quite capable, but a paid plan ($9/month) unlocks additional features like 4K exports and premium stock content.
KineMaster: If you're looking for a similar simple solution but on your mobile, then KineMaster is a great choice. It mostly works similarly to clipchamp, the only difference is the free version is very much limited. Plus, you can't get rid of its logo unless you upgrade.
Adobe Premiere Pro: A leading video editing software used by professionals worldwide. It offers a comprehensive set of tools for editing, color correction, and audio post-production. The subscription model starts at $20.99/month.
DaVinci Resolve: A professional-grade video editor known for its advanced color grading and editing tools. The free version is feature-rich and suitable for most users. The paid version (one-time purchase) and comes with some extra features like GPU acceleration, AI-powered features, and advanced noise reduction.
Canva Pro: While primarily a graphic design tool, Canva Pro also offers decent video editing capabilities. It's user-friendly and ideal for creating social media videos, presentations, and other marketing materials. The subscription costs $15/month and also gives you access to a vast library of premium stock assets.
Personal recommendation: If you only need video editing capabilities, then consider Clipchamp's free version first. DaVinci Resolve is also a great option but requires a more powerful machine to run smoothly.
1. NVIDIA Broadcast: A free app for anyone with an NVIDIA RTX graphics card. It provides virtual plugins for the OBS Studio and other streaming software to do all kinds of magic — background blur or replacement without any green screen, auto framing, remove small audio noise (like keyboard clicks, fan etc.), and the eye contact feature that keeps you looking at the camera even when you glance away.
Runway ML is a good alternative (though not free, $15/month) that can do many similar things for non-NVIDIA users.
2. ElevenLabs/Descript: With these tools, you can clone your voice and then generate new audio content just by typing text. This can be very useful for podcasters and educators who need to create or update content quickly without re-recording everything.
3. Adobe Podcast AI: Another audio tool that offers studio-quality audio enhancement in your browser. Upload your audio, and it removes background noise, reduces echo, and enhances speech clarity. The free version allows up to 1 hour of audio processing every day.
If you create hour long content, then Opus Clip is a very handy tool that can save you hours of manual work. It automatically identifies the best moments from your long streams and creates optimized short-form content for TikTok, shorts, and Instagram reels. It even suggests viral-worthy clips based on engagement patterns.
Thumbnails are the most important element to attract the audience to click on your videos besides the title. Tools like Thumbnail.ai can create eye-catching thumbnails in seconds. It can even A/B test different versions to find which types resonate with the audience in your niche.
And as always, LLMs are always the swiss army knife for any type of content creator. Tools like ChatGPT, Gemini or Claude can help you brainstorm ideas and write engaging scripts quickly. You can also use them to generate catchy titles, descriptions, and tags that improve your video's discoverability.
If you need unique content ideas with research and factual data to backup, then Perplexity is my strong recommendation. You can also use all the above LLMs with it besides their own in-house models to research, write and do a whole lot of things.
Don't feel overwhelmed by all these tools and options. You can find dozens more of them that can pertain to your use-case. The key to these amazing tools is in identifying which ones solve your specific pain points. If scripting takes you hours, prioritize ChatGPT. If post-production is your bottleneck, invest in Opus Clip. Start with one or two tools, master them, then expand your AI toolkit as needed.
Monetization: Turning Passion into Profit
While it's easier today to start streaming, creating money out of it is a whole other challenge.
My video content creation experience is primarily in educational material and small website videos. Therefore, I do not know much on how to make viral contents, if anything many of you likely would have more expertise in that area than I do. What I do know however is the hardware & the underlying physics, the software, and fortunately, some economics.
Platform: Twitch starts monetization at Affiliate status (achievable within weeks for consistent streamers), revenue comes from subscriptions (50% revenue share initially). YouTube requires 1,000 subscribers and 4,000 watch hours for AdSense monetization, though its algorithm is more beginner-friendly than Twitch. TikTok's Creator Fund pays based on views, but rates are low.
The point is, unless you're able to build a substantial subscriber base, earning from platforms alone is not possible. While a viral video or stream may bring a temporary boost, sustainable income will require consistent growth. Here are some more clever ways you can build your income streams independent of platform:
Sponsored Content or Affiliate Marketing: Partnering with brands to promote their products starts smaller than what many content creators actually expect. Micro-sponsorships (under 10,000 followers) typically pay $100-500 per campaign! Register with platforms like AspireIQ or Klear to connect with brands. You can also join affiliate programs like Amazon Associates or ShareASale to earn commissions by recommending products relevant to your niche.
Merchandise: Live-streaming fosters a unique connection with your audience, building a loyal community that is often eager to support you directly. This makes merchandising a surprisingly effective monetization strategy, even for streamers with a smaller but dedicated follower base (~1,000 followers). You can start without any upfront investment by using print-on-demand services like Printful or Teespring, which handle all production and shipping, eliminating inventory risk.
For merchandise, think beyond the generic and clichéd t-shirts. Offer items that are genuinely useful or relevant to your niche. For example, a gaming streamer could sell custom mouse pads, while a chef might offer branded aprons or water bottles. The goal is to create affordable, unique products that your audience can use daily and won't mind purchasing.
Memberships: Platforms like Patreon or even YouTube's channel memberships allow you to offer tier-based subscriptions. In return, you can offer exclusive content, behind-the-scenes access, Q&A sessions and other perks to incentivize sign-ups. This can create a more predictable and recurring income stream.
Maximise your content value: Repurpose your content across different platforms. This is where tools like Opus Clip, we mentioned earlier, can come handy.
For example, a cook might do a live recipe demonstration on Twitch, edit the content into a YouTube tutorial, create 60-second recipe summaries for TikTok and multiple Instagram reels. One cooking session becomes content for an entire week across multiple platforms. The software and AI tools we discussed can extensively help you in creating all that with minimal effort.
Analytics: Many people ignore these things. But even if it's a side business, be diligent and pay attention to these metrics. Track everything — revenue, expenses, hours worked, and growth metrics. Understanding seemingly small data points like what sort of titles or thumbnails attract more viewers often creates huge impact.
Lastly, mentally reframe the financial goals around the value you provide instead of the amount. For instance, instead of aiming to "make $1,000 a month," challenge yourself to "create content so valuable that 100 people are happy to support it with $10 a month." This mindset shift will prioritize audience-first approach which will naturally lead to income.
Conclusion
The world of video streaming is vast and ever-evolving. While the initial setup may seem daunting, breaking it down into manageable components—hardware, software, and AI tools—makes it accessible for anyone willing to learn. Start with what you have and gradually build your setup as you grow.
For monetization, explore some other avenues such as affiliate marketing, sponsorships, and merchandise sales. With dedication and the right approach, you can turn your passion for streaming into a rewarding venture.
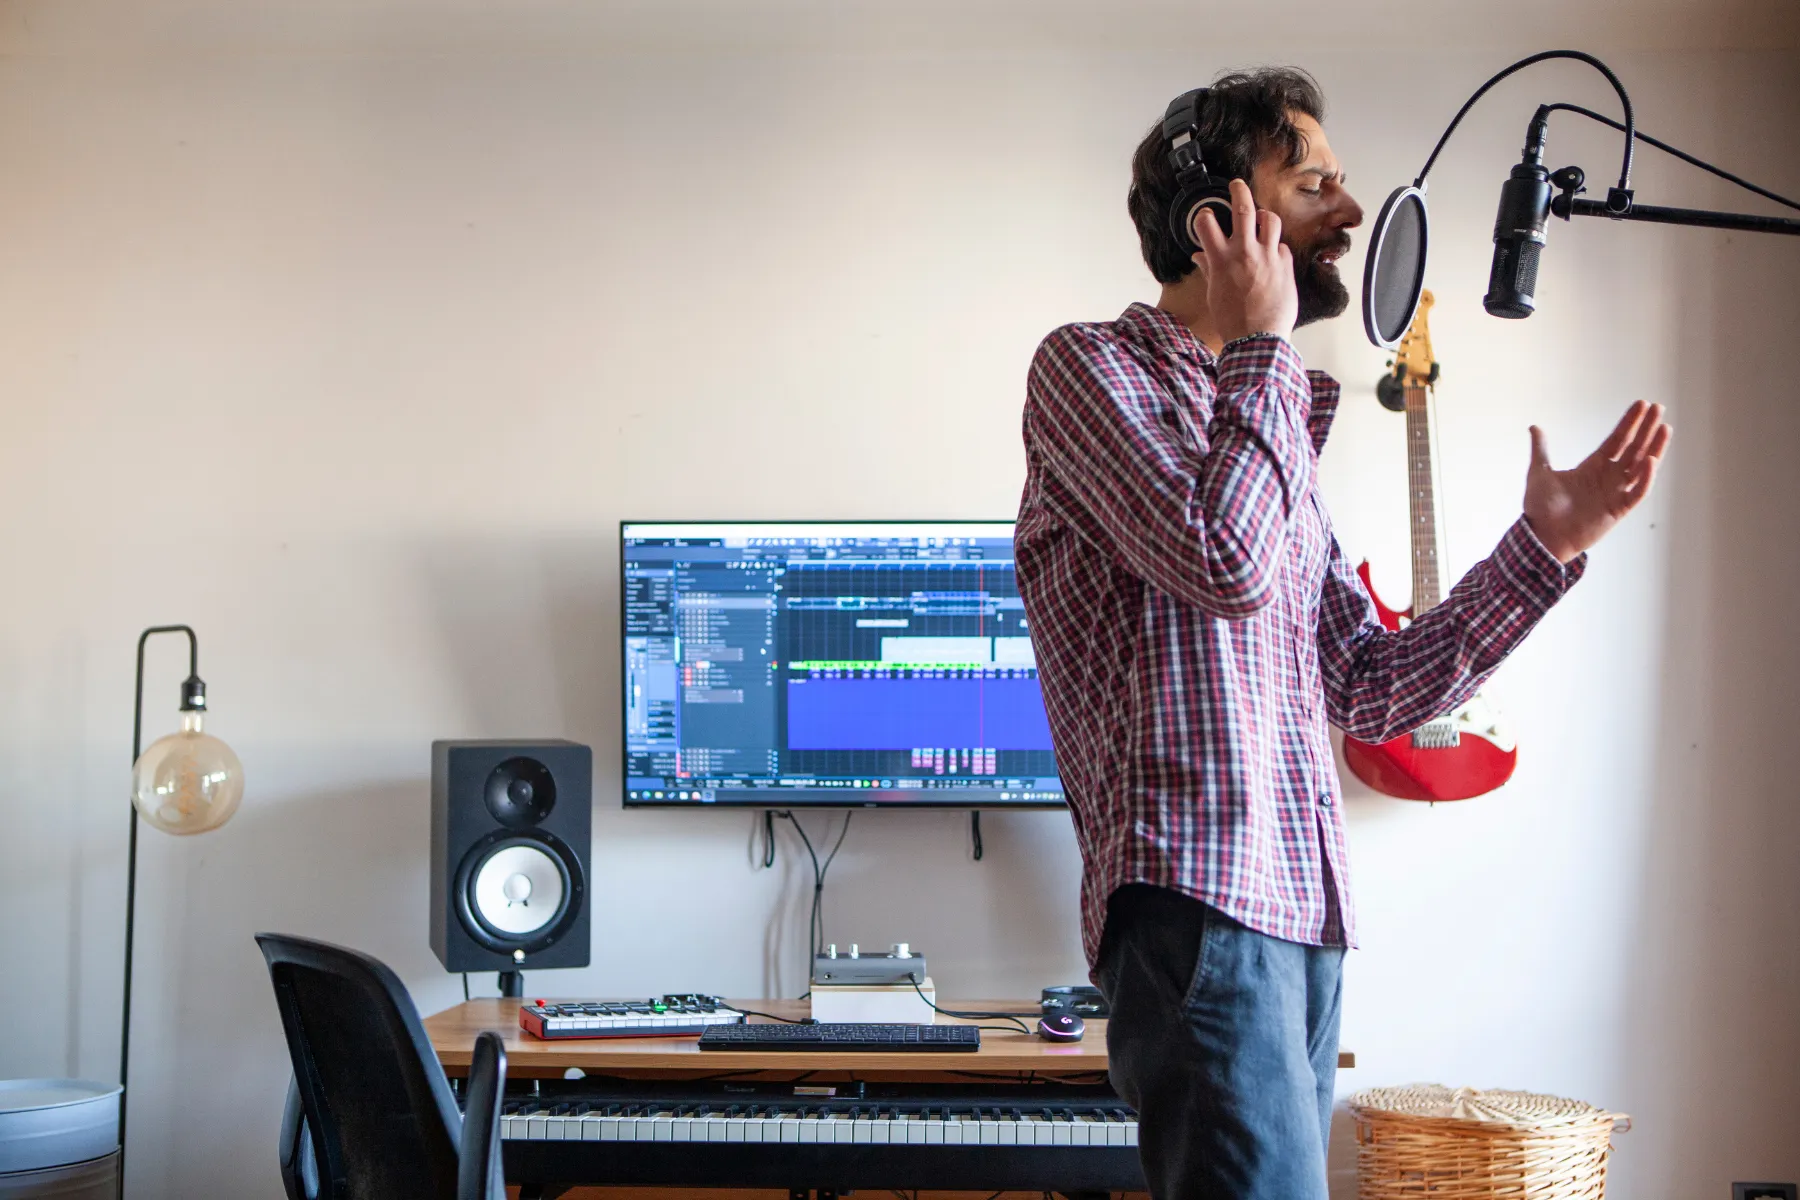
Image of a person recording music in a home studio.
Frequently Asked Questions (FAQs)
Do I need to show my face to be successful?
Not necessarily. Many successful streamers never show their faces, using avatars (VTubers), focusing on gameplay, or creating educational content where screen sharing matters more than face cam. However, for certain topics, like when talking about finance or medicine, showing your face helps build trust and credibility with your audience.
Which streaming genre/niche is most profitable?
Live streaming (like gaming, talk shows etc.) builds more engaged audiences even with less number of followers. For pre-recorded content, educational content, business/finance, and technology typically generate the highest CPMs and sponsorship rates. However, many of these things change over time. It is better to choose a niche you can enthusiastically create content about for years, not just what seems profitable now.
Do I need a powerful PC for streaming video content?
It depends on what you're streaming. For resource-intensive tasks like live-streaming modern 3d games while using high-end software such as OBS Studio or DaVinci Resolve, you'll need a reasonably capable computer.
What is encoding?
Encoding is the process of compressing your raw audio/video into a digital format that can be streamed or recorded efficiently. Hardware encoding uses your graphics card which is much faster and consumes fewer CPU resources than software encoding which uses your CPU.
What is a bitrate?
Bitrate measures how much data is processed per second in your audio or video stream, expressed as kilobits per second (Kbps). Higher bitrate means more data is processed per second, meaning more detail capturing. However, this results in increased file size.
How are the bitrate and fps related?
Bitrate allocates data per second; FPS is the number of individual images (or frames) per second.
If you increase FPS, you need to increase bitrate to maintain the same quality, because you're sending more frames hence more data per second.
If you keep bitrate the same but increase FPS, each frame gets less data, so quality per frame drops and video can look blocky or pixelated.
A good analogy is to think of bitrate as the amount of electricity sent to a village every second, while fps is the number of houses in that village. More houses (fps) mean more electricity (bitrate) needs to be supplied.
What are the recommended Live Streaming and Recording Settings
Live Streaming: For 1080p streaming at 60fps, a bitrate of 6000 Kbps gives good balance between quality & stability. For low-end devices, try lowering the resolution to 720p at 30fps, using a bitrate of 3000 Kbps.
Recorded Content: You can go higher when recording (above 15000 Kbps) since you're not limited by real-time upload speed. This will also allow you to work with more detail in the post production before compressing for the final output.
Audio: For audio, a bitrate of 160 Kbps at 48 KHz sampling rate is generally sufficient for most content, while 320 Kbps is recommended for high-quality music streams. For spoken content, such as podcasts or live commentary, even 64 Kbps can be adequate. Use AAC codec for best compatibility and quality.
Cookie Policy
This website uses some non-essential cookies like Google Analytics and a custom visitor id for the sole purpose of analysing website traffic data. This helps me identify which pages are popular and how users interact with the site. You can choose to accept or decline the use of these cookies.